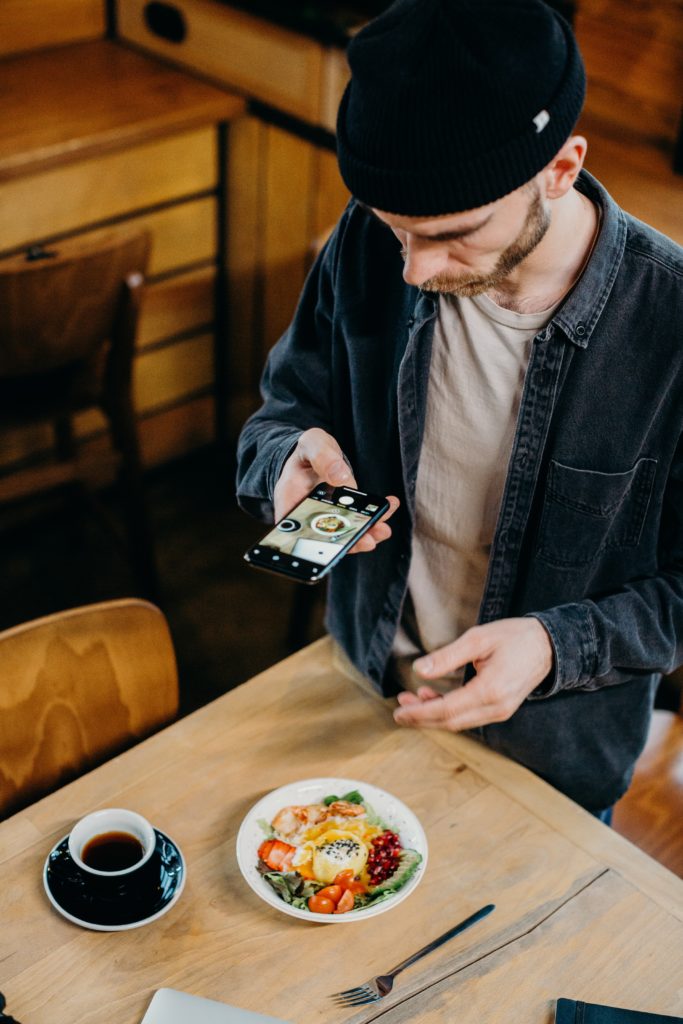
If you have just entered the world of blogging or photography, then you might be looking for some awesome tips that can seriously help you become the best Singapore food photographers. Then let me tell you, you have come to the right place. Here we have mentioned some tips for improving your photography skills and helping you tell a better story from your pictures.
Food photography can be a tricky business as your audience cannot taste the food for judging if it’s tasty or not. So you have to click such a shot that equally justifies your food and shows how enticing and luscious it is. Everything the audience sees in the photo is the decision of the photographer. The photographer perfectly places every item to make it appealing for them to grab it. Follow the below suggestion for clicking perfect photos.
Hack #1 – The hero must be surrounded
No movie hero comes alone. He always has company, so how can you leave your hero alone? When shooting from the front angle, design the background such that it plays with the setting. Surround the main dish with props and ingredients that relate to the food item. Moreover, add spaces where you need to tell a story.
You can add seasoning, sauces, or oil if you want to indicate how you made the dish. On the other hand, you can use linen, fabrics, jars, etc., to speak of the dish’s origin. Foreground and background can help tell a story in silence.
Hack #2 – Colors add composition
Composition and lighting can easily help you make up for the missing elements while colors enhance your shot. It can convert boring pictures into striking photography. However, this does not mean there is no place for black and white photos anymore.
When choosing colors to place beside your food, select neutral colors only; it helps your food pop against it. Consider the contrast you are using between different components of the final frame. You can also use colored lightings or artwork to add a color splash to your food.
Hack #3 – Natural light is the king
If you have clicked even one or two photos, you must know by now that natural light is the king. Poor use of lighting can ruin your whole story delivering the wrong message to your audience. So make sure to control it to bring the best out of your pictures.
When working with direct sunlight, don’t forget to place a diffuser. It will improve the quality while adding softness to your image. However, to take low-key and darker photos, every photographer’s secret is black cards. Black cards will help block the light from reaching the areas you don’t want to focus on or want to keep it dark.
Hack #4 – Tripod to the rescue
Dim light areas are a common problem in the photography business. As soon as you get ready for the perfect shot, the light goes dim. Here, the only thing that can save you is a tripod. A tripod helps you get the best steady photo at the lowest ISO possible. Moreover, it not only adds sharpness to your photos but also dials up the composition.
However, if you do not have a tripod stand, then first stabilize your camera by fixing it on a firm surface, then set a self-timer. Also, one important caution for you, do not use built-in flashlights. Instead, increase the lighting using a remote speed light off-camera.
Hack #5 – Try different angles
As a food photographer, you must know there are only a few camera angles that will let you have the best food photos of all times. But you need to choose one from them depending on what type of food item it is. So, think of the food item from before, its shape, size, height, and the unique thing you want to show the public. Then place your camera in the position where it can highlight the food’s best quality.
For example, if you are taking a picture of a cupcake, you would want the audience to notice its height and the spiraling frost. So, the best position you can face your camera is the front angle. However, if you shot it from above, the viewers will not see its shape and size.
Conclusion
We hope the tips mentioned above were helpful for you to move ahead in your photography business. Follow them to bring out the best story from your clicks, and the rest you will learn from experience.
