For those who love to eat meat, curing meat at home is a great way to make sure you get the freshest and most delicious cuts possible. While it can seem like a very difficult task if you’ve never done it before, the process is actually fairly simple once you know what you’re doing. Here are some top tips for how to cure meat properly so that you can enjoy your homemade charcuterie in no time.
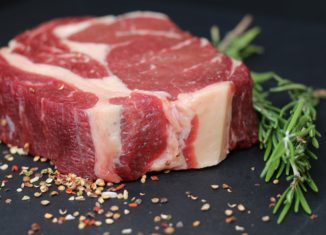
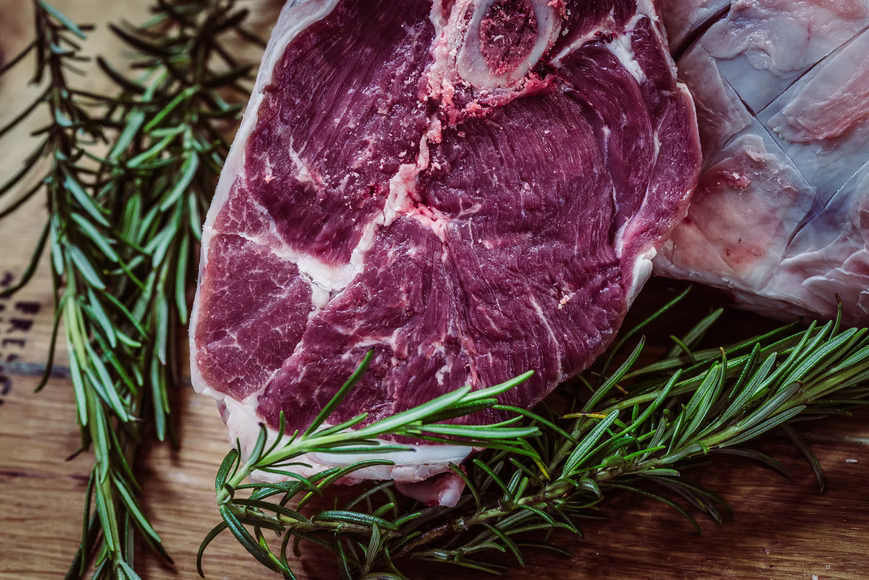
Make Sure That You Use The Right Cuts Of Meat
One of the most common mistakes that people make when curing meat at home is to cut it from the wrong part of the animal. To make meat curing at home better, pork for instance, should only be cured with its belly or shoulder cuts. Beef, on the other hand, can be cured using several different cuts. As a rule of thumb, however, beef cured in North America will usually use brisket or plate cuts, while cured meats produced in Europe often use cuts like ham hock or short rib.
Know The Difference Between Cures And Rubs
Many people make the mistake of thinking that a cure is a rub because it’s typically labelled as such in the grocery store or market where you buy your meats. However, a cure is actually a mixture of salt and sugar that is applied directly to the meat before cooking begins whereas a rub contains dry spices that are mixed together before being spread on both sides of the cured cut. This helps you to gain even coverage across all areas of the meat which creates full flavour when it’s complete.
Salt, Sugar, And Cure First
It’s extremely important to remember to salt and sugar on all surfaces of the meat before you start curing it at home to ensure that proper penetration throughout the cut can be achieved. If you’re simply rubbing a dry mixture onto the outside of the cut, for instance, there won’t be enough time for it to penetrate fully into the meat which will leave areas where spoilage may start occurring before you’ve even started cooking the meat.
Choose The Right Curing Salt And Sugar
Make sure you’re using the right curing salt and sugar solution for your home-cured meats. For brine cures, around ¼ ounce of pink salt and ⅛ ounce of sodium nitrate per pound of meat should be used depending on what kind of cut has been chosen and which part of the world it’s from. For dry cures, you’ll need around two ounces of kosher or sea salt per pound as well as up to one ounce of either brown or white sugar per pound if desired. It’s also a good idea to keep in mind your total curing time per pound and plan your cure accordingly.
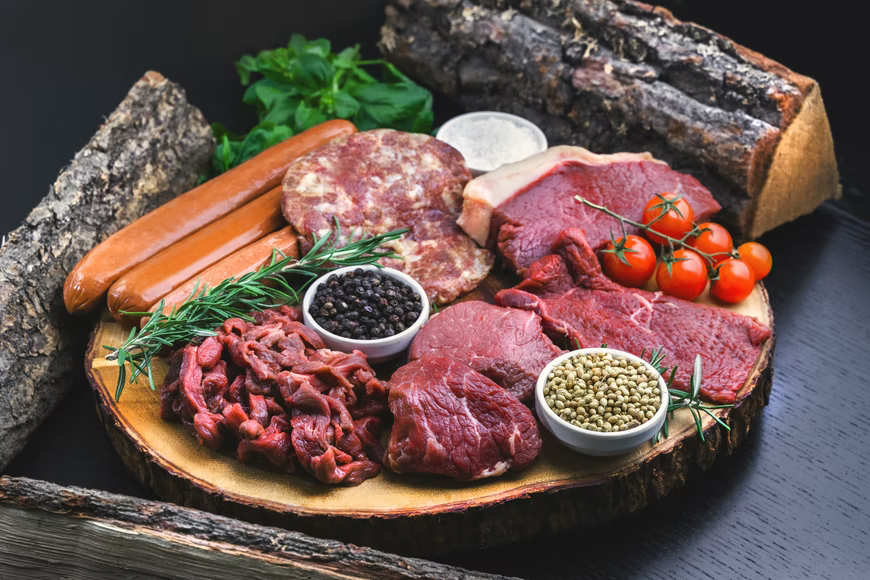
Try Different Kinds Of Spices And Herbs
Another important part of how to cure meat properly is to experiment with different combinations of spices and herbs during your curing process. Popular options include garlic powder, dried thyme leaves, caraway seeds, and juniper berries. You can also use things like olive oil, and lemon juice for a milder flavour.
Keep The Cuts Cool And Dry
Once you’ve finished your cuts of meat it’s important to store them in a cool dry place that remains anywhere between 40°F and 55°F for the duration of the cure time depending on how long it was recommended to cure for by your recipe (especially if you’re following one provided by an online source). If the environment where they’re stored is too moist or humid, bacteria may begin growing on the meats which will lead to spoilage before you even get around to cooking them.
Watch Out For Slime Or Green Colours On The Meat
A common mistake many people make when trying to properly cure meat at home is checking the meat often enough during the curing process. During the first few days of a dry cure, for example, a slime or green colour on the meat means that it still has time left to go so if you remove it prematurely then your meat could spoil rather than become properly cured.
Choose The Right Kind Of Container For Your Cuts
Once you have your cuts of meat and spices selected you’ll need to pick the right size container for curing them in. It’s always a good idea to use glass or ceramic containers since they don’t corrode with time, but metal containers are perfectly fine so long as they are thoroughly clean before being used. Additionally, your chosen container must have an airtight seal so that the odours from the meat don’t become strong enough to escape through the lid while leaving it exposed for extended periods.
Exercise Patient During The Curing Process
If you’re trying to figure out how long it’ll take for your meat cuts to become properly cured then you must exercise patience throughout the entire process. It can sometimes take weeks before the effects of the curing salt kick in meaning there will be no noticeable change in texture or taste to them whatsoever which can make checking on their progress difficult.
In conclusion, curing meat at home isn’t as complicated as you might think if you follow a few top tips. As long as you remember to do everything in the right order and avoid spoilage by keeping your meats cool and dry throughout the process, it will become second nature to properly cure meat at home before cooking it for a delicious meal.
